Original Scan Settings
- Scanning originals of different sizes (Mixed Original)
- Specifying the original binding position (Binding Position)
- Specifying the original size (Original Size)
- Specifying the original loading direction (Original Direction)
- Scanning a number of originals in several batches (Separate Scan)
- Rotating the original image to suit the paper orientation (Auto Image Rotation)
Scanning originals of different sizes ([Mixed Original])
Even for an original with pages of different sizes, by using the ADF, you can scan data while detecting the size of each page. If the widths of the originals are the same, select [Same Width]. If the widths of the originals are different, select [Different Width].

Specifying the original binding position ([Binding Position])
Specify the binding position to suit the orientation of the target original.

Setting | Description |
|---|---|
[Auto] | Automatically configures the binding position of the original. When the long side of the original is 11-11/16 inches (297 mm) or less, the binding position is set to the long side of the paper. When the long side of the original exceeds 11-11/16 inches (297 mm), the binding position is set to the short side of the paper. |
[Left Bind] | Select this option when the binding position is set to the left of the original. |
[Right Bind] | Select this option when the binding position is set to the right of the original. |
[Top Bind] | Select this option when the binding position is set to the top of the original. |
Specifying the original size ([Original Size])
When the size of the original is not detected correctly, specify the size of the original you want to scan.

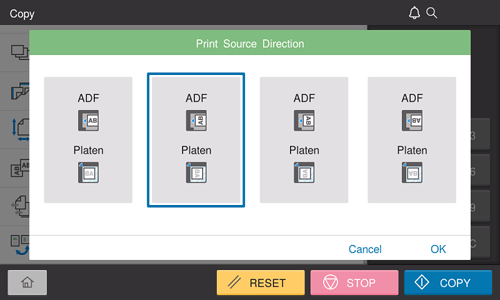
Specifying the original loading direction ([Original Direction])
When scanning a 2-sided original, specify the original loading direction so that the vertical direction of the scanned original is set correctly.

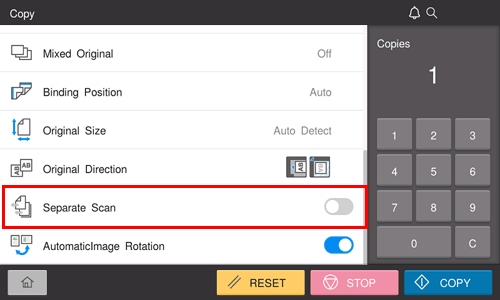
Scanning a number of originals in several batches ([Separate Scan])
If the number of original sheets is so large that they cannot be loaded into the ADF at the same time, you can load them in several batches and handle them as one job. You can also scan the original using both ADF and Original Glass alternately.
Load the original.

Do not load more than 100 sheets (21-1/4 lb (80 g/m2)) at a time into the Original Tray, and do not load the sheets up to the point where the top of the stack is higher than the
 mark. Doing so may cause an original paper jam, original damage, or ADF failure.
Set [Separate Scan] to ON.

Use the Start key to start scanning.
Load the next original.
If necessary, tap [Change Setting] to change the scan settings.
Use the Start key to start scanning.
Repeat steps 4 and 5 to scan all the originals.
After all originals have been scanned, select [Finish].
Use the Start key to start copying.
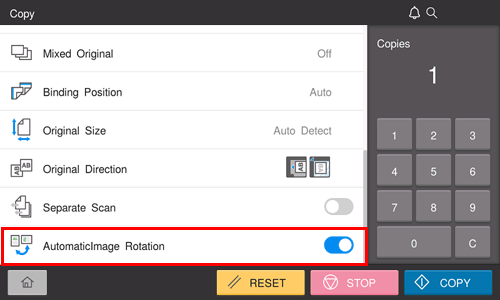
Rotating the original image to suit the paper orientation ([Auto Image Rotation])
In general use, this machine automatically rotates the original image according to the paper direction to make a copy. Turning [Automatic Image Rotation] OFF as needed enables you to make a copy without rotating the original image. This function is available when you want to copy only a part of the original.

